Saturday, September 24, 2011
Found Hamster!
She-ra did come out late last night. My husband saw her running back into a hole in the cabinet, which we had no idea was there. We blocked her escape from the kitchen with a table leaf and put a plate of bananas on the floor, turned out the lights and in a few minutes, she came out. My kid caught her and just like that, she was put back into the repaired habitat. Poor thing was very stressed out and thirsty and hungry. She behaved rather oddly all night. She climbed and ran around the habitat like a crazy hamster. She is much calmer this morning. We are glad she came out and she is "home" again.
Friday, September 23, 2011
Lost Hamsters
Well, it happened. We awoke this morning to find He-man and She-ra missing. Apparently, they have been gnawing on the bars and one of them got loose and fell into the habitat, allowing them to crawl out. He-man was found in the garbage bin cabinet which happens to be closed at all times so how he managed to get in there remains a mystery. She-ra is still MIA. We have searced everywhere but we don't know how to think like a hamster, yet. I am hoping that as night falls, she will rouse herself and search out food and water. My kids cried all morning. She-ra, if you can read this, we love you, come home, please.
Monday, September 19, 2011
First Attempts at dyeing fabric
Happy Monday to all.
I wanted some purple and orange fabric and thought to dye it myself. I collected a few pieces of fabric from my stash to conduct my first experiments. I used Rit and Tintex powdered dyes. I followed the directions published by Rit Dye for low-water immersion. Here is the link to the Rit Dye techniques - http://www.ritdye.com/dyeing-techniques . Here is the site for Tintex. They produce other products as well, such as paints.http://www.tintex.com.au/ .Tintex also had a link to another web site that would answer questions related to dyeing: http://www.pburch.net/dyeing.shtml. This last site has gobs of information and I can't wait to study what is on this site.
The results you see below were achieved quickly, with little to no measuring. I did make the following mistakes: I placed my fabric too close to the mixing bowl and did get powdered dye on the fabric (hence the tiny little purple spot on the periwinkle fabric). When using bleach, be very careful to dilute the bleach before using so you do not get concentrated bleach spots on the fabric (hence the white spots on the dark purple fabric). More on how I achieved the effects in the captions following the pics. I recommend that you try this at home. Its very simple, requires little to no set up and the results are practically instantaneous. Next, I will be trying to figure out how to get a mottled effect with two or more colors while still keeping the colors pure.
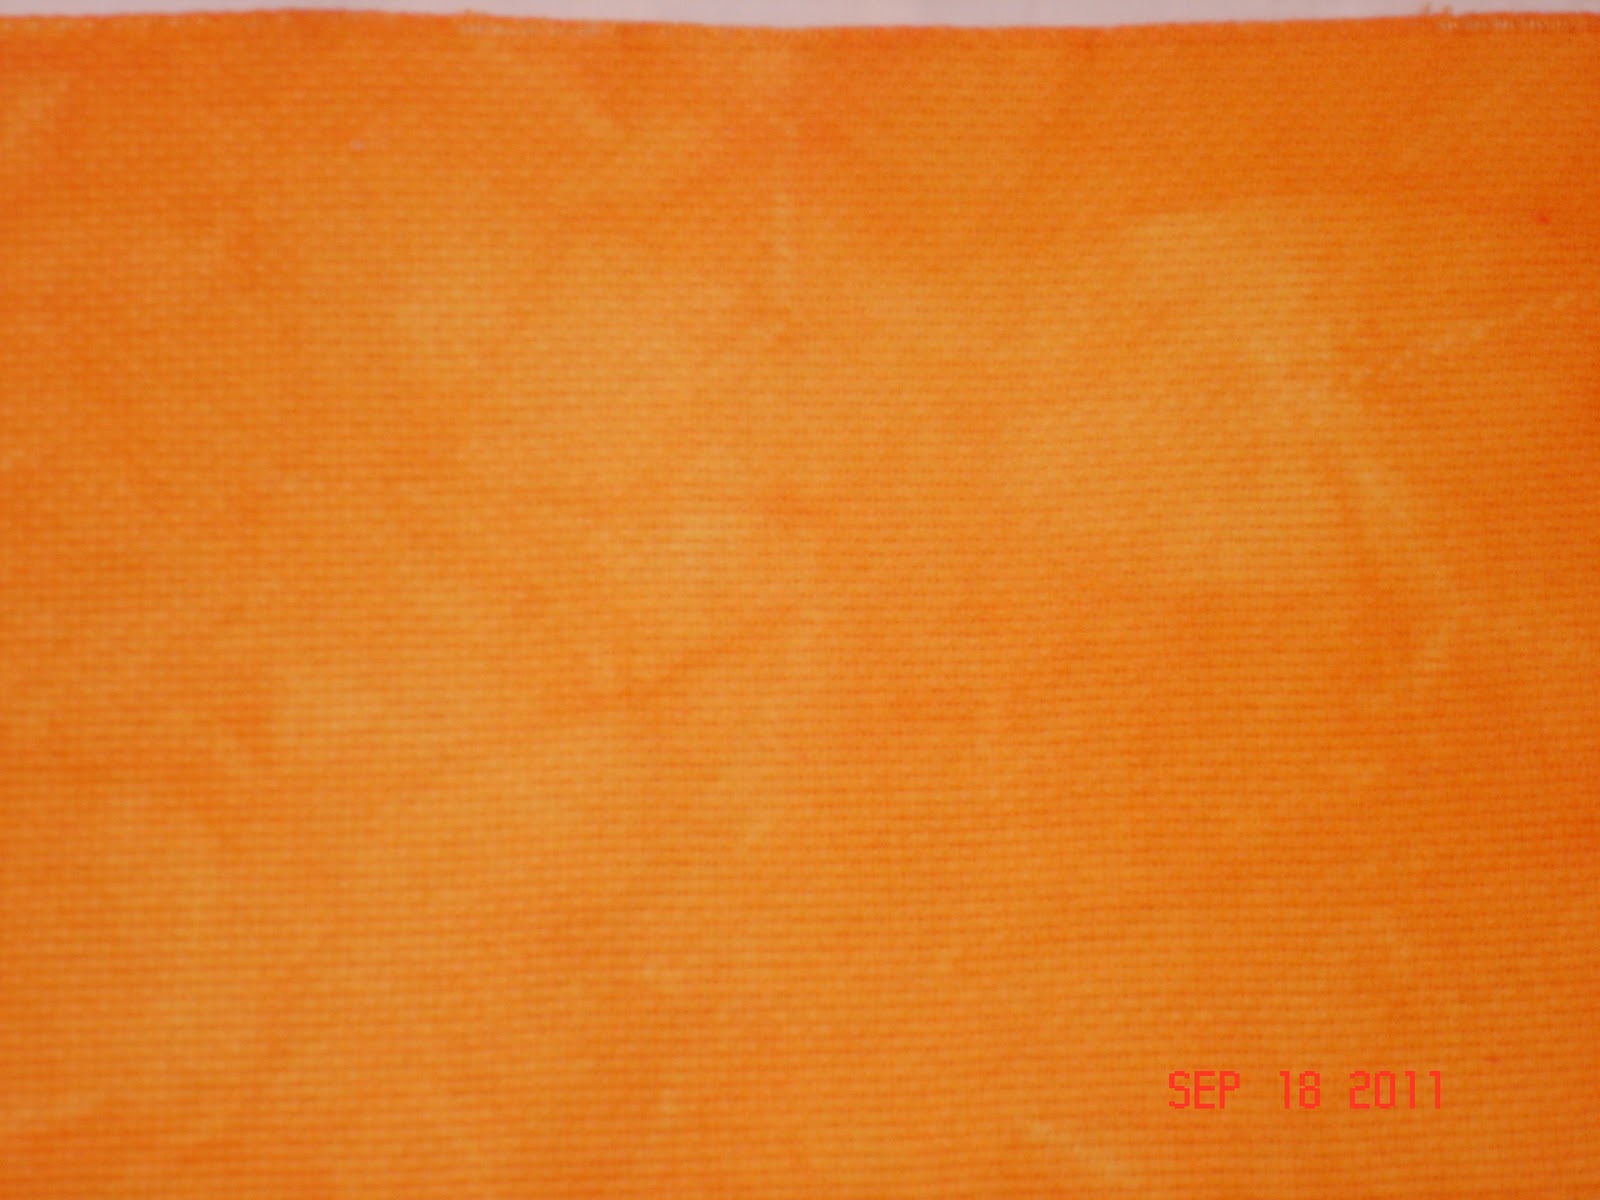
 This is a mottled orange. I used Tintex yellow and red, mixed it by sprinkling tiny little amounts of the powder, alternating between the red and the yellow until I got the colour I wanted. I used a white plastic spoon to mix and lift a little into the light. I did this more like an artiste than a chemist, so no measuring here. I only used about 1-1/2 cups of hot water, smooshed the wadded up material into the dye and microwaved for 1 minute. I had a lot of white areas after rinsing it so I stuck it back in the dye bath for another turn and voila a lovely orange! I am calling this "Oh No you didn't".
 I wanted this to be a bit more purple but I sprinkled in to much royal blue and didn't want to keep adding purple because I did not want a darker color, so I left it the way it was. I used Rit Dye in Royal Blue and Purple and the same sprinkle method as used for "Oh No you didn't". If you look closely at the top, you will see one little purple spot. Not sure how this happened but I think I got some of the purple powder on it as I was tearing the package open (use scissors!). Despite the spot, I just love this color. I am calling this one "What are you looking at?"
 I used Rit Dye in Purple here and used a teaspon of dye, as I wanted a very, very deep color. Of course, a teaspoon was way too much! I then diluted a little bleach (2;1 bleach:water) and dabbed it with a sponge while the fabric was still wet. I sprayed diluted bleach on the fabric too, and that's how I got the little white spots towards the top. I was very upset but then realized that they looked like stars, so I will put a crescent moon next to the spots and it will look like the spots were intended. I am calling this one "You there, come here!". When using bleach (not recommended) be sure to rinse and rinse as the bleach will eat away at your fabric over time. Time will tell what this piece will look like in a few years.
The two purple pieces were Lugana and the orange is Aida. I like the way the Aida "grabbed" the dye and survived the rough handling. The Lugana fuzzed up a bit from all of the handling and became very soft. I was a bit more gentle with the periwinkle piece so it did not fuzz up as much.
OK, so that's it for now. Have a go at this and see how much fun it is! Let me know if you try dyeing for yourself and share your results with me, please.
Happy Stitching!
I wanted some purple and orange fabric and thought to dye it myself. I collected a few pieces of fabric from my stash to conduct my first experiments. I used Rit and Tintex powdered dyes. I followed the directions published by Rit Dye for low-water immersion. Here is the link to the Rit Dye techniques - http://www.ritdye.com/dyeing-techniques . Here is the site for Tintex. They produce other products as well, such as paints.http://www.tintex.com.au/ .Tintex also had a link to another web site that would answer questions related to dyeing: http://www.pburch.net/dyeing.shtml. This last site has gobs of information and I can't wait to study what is on this site.
The results you see below were achieved quickly, with little to no measuring. I did make the following mistakes: I placed my fabric too close to the mixing bowl and did get powdered dye on the fabric (hence the tiny little purple spot on the periwinkle fabric). When using bleach, be very careful to dilute the bleach before using so you do not get concentrated bleach spots on the fabric (hence the white spots on the dark purple fabric). More on how I achieved the effects in the captions following the pics. I recommend that you try this at home. Its very simple, requires little to no set up and the results are practically instantaneous. Next, I will be trying to figure out how to get a mottled effect with two or more colors while still keeping the colors pure.


The two purple pieces were Lugana and the orange is Aida. I like the way the Aida "grabbed" the dye and survived the rough handling. The Lugana fuzzed up a bit from all of the handling and became very soft. I was a bit more gentle with the periwinkle piece so it did not fuzz up as much.
OK, so that's it for now. Have a go at this and see how much fun it is! Let me know if you try dyeing for yourself and share your results with me, please.
Happy Stitching!
Subscribe to:
Posts (Atom)